Coding for Android on Windows - Image processing - Java Code
This page is the third chapter of the article Coding for Android on Windows.
Feel free to write comments or add content.
Image processing on an Android phone - Lowpass filter an Image - Java code
My first own project was to lowpass filter an image on an Android phone using a Gaussian filter. Therefore it should be possible to either take a picture with the integrated camera or to open an an already existing image from the gallery on the phone. The filtering itself should be done in native C++ code. So all that has to be done in Java is to prepare the image to get filtered by the native code.
File:AndroidLPupload.zip is the source code for this project.
|
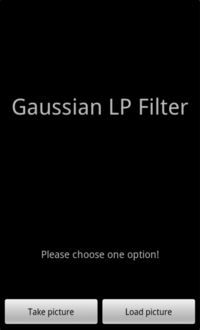
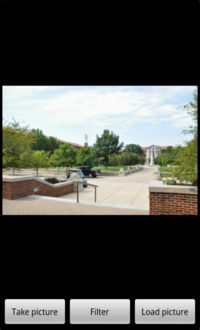
Take a look at the layouts on the right first. You can find them in the folder res/layout inside the project. The first one is the layout that is displayed when the application is started. The only thing you can do is to choose between taking a new picture and loading a picture from the phone. |
The strings.xml-file is quite easy to understand. You just need to specify a name for your String, so it can be used somewhere else in your code, and the actual text you want to get displayed.
Now let's take a look on the Java code. I assume that you already know something about coding for Java and so I do not want to explain every single line of the code and want to concentrate more on the Android specific code instead.
As mentioned before, an Android application does not have a main function. Instead it starts with the onCreate method. The first thing to do is to set the layout to the desired one defined before. Then, we define the two buttons we need on the starting screen: "Take picture" allows taking a picture with the build in camera and "Load picture" opens the gallery with all pictures stored on the phone.
As we already have a camera and a gallery application on the phone, we can use these ones and do not have to write these functions on our own. To open and use another application from your own one, you have to use an intent.
If we want to load a picture, we define that the intent shall return an image and that we want to get the and work with the content:
intent.setType("image/*");
intent.setAction(Intent.ACTION_GET_CONTENT);
startActivityForResult(Intent.createChooser(intent, "Select Picture"),LOAD_PIC_REQUEST);
You always use startActivityForResult if you need to get a result back from your intent. "LOAD_PIC_REQUEST" is a constant we have defined before. In addition to the content we have asked for, the intent also gives a "requestCode" back. This code helps to identify the intent that delivers a result in this particular moment.
If we want to take a new picture with our camera, we also have to use an intent. This time, we specify a path where we want the camera intent to store the image and define that the camera application is opened when we start the intent:
last_image = PROJECT_DIR + "tmp_" + System.currentTimeMillis() + ".jpg";
Intent cameraIntent = new Intent(android.provider.MediaStore.ACTION_IMAGE_CAPTURE);
cameraIntent.putExtra(
android.provider.MediaStore.EXTRA_OUTPUT,
Uri.fromFile(new File(last_image)));
startActivityForResult(cameraIntent, CAMERA_PIC_REQUEST);
As we have asked the intent for a result ("startActivityForResult"), the function onActivityResult is started when the intent is finished. So we have to override this function and define what shall happen next.
In our case, there are two possibilities how we could get to this point of the code:
- After choosing an image from the gallery
- After taking a new picture with the camera
The "requestCode" that we have defined before helps us to continue correctly: Either we work with the image taken with the camera or we load the image we have chosen before from the gallery. In both cases the next called function is "picChosen()".
To display the image we have to decode it to a bmp-file. As image processing takes a long time for big images, we just load a smaller version of the picture. These are the steps performed in the function "decodeFile":
- Discover the size of the image. To do so, we do not have to load the entire image, but only ask for the bounds.
- Calculate a factor that says how much the image has to be compressed to get the desired resolution.
- Decode the image in the desired resolution.
Back to the function "picChosen":
We display the smaller version of the picture on the screen and the user can now decide how to continue: "Take a new picture", "load another picture" or "lowpass filter the displayed image". The first to options leads you back to the steps explained before. Just the third option is new.
Let's take a look on the code for the "changeButton". As you see, not really much is happening in these few lines: We check which picture is displayed at the moment (original or filtered one) and switch to the other one. The only interesting function is "LpFilterJNI". This function is the C-based JNI function. So the actual code for lowpass filter the image is written in C. It's not possible to just pass the bmp-file, so we have to write all values in a one dimensional array. We do so by using the function "getPixels".
Next Chapter: Image Processing - C code
Previous Chapter: First Projects


